The order matters more than the gear
A new kayak invites a spending spree: crates, tracks, rod holders, a fish finder, an anchor trolley, a flag, a net, a cup holder. It all bolts on somewhere, and every box looks like progress, until the first trip reveals the rod holder sitting where your paddle stroke goes, the crate blocking the cast, or the fish finder blocking the landing. Holes in a kayak hull are permanent in practice, and moving a mount means plugging a hole you would rather not have drilled.
Experienced kayak anglers agree on one order, and it is not the order the boxes arrive in: safety gear first, then a few trips in the bare boat, then the crate and rod holders, paddle storage and tethers, position control, and electronics last. Follow that sequence and every piece lands where your hands already go.

Step 1: Safety goes on before any fishing gear
The first thing on the boat is not fishing gear at all. Wear the PFD (personal flotation device), do not stow it: a PFD riding in the tankwell is decoration, and the anglers who end up in the water are rarely the ones who planned to. Clip a whistle to the PFD itself, where your hand finds it without looking, and mount a flag or 360-degree light behind the seat on a stiff pole high enough to clear your head, so other boats see you in low light.
A paddle leash is the other day-one addition: cheap, weightless, and the difference between a dropped paddle and a long swim to the bank. Everything else on this list can wait. This step cannot.
Step 2: Paddle the bare boat for a few trips
This is the rule every other step depends on, and it is the one beginners skip. Take the safety gear, a paddle, and one rod, and fish the boat as it came. Three or four trips will teach you things no rigging video can: your reach behind you without wobbling, your paddle arc, which seat position clears your cast, and where your hands rest when you are not thinking about them.
Note them before you buy anything else: a dealer rigging a brand-new kayak has no way to know where your hands go, and the holes are already drilled. Gear tracks are the forgiving alternative: a track with a sliding bolt lets a holder move in seconds and come off entirely, so you can test a position for a trip before committing to it. Permanent bases suit only high-load spots, like a trolling rod holder. For everything else, tracks first and holes last.
Step 3: Crate and rod holders behind the seat
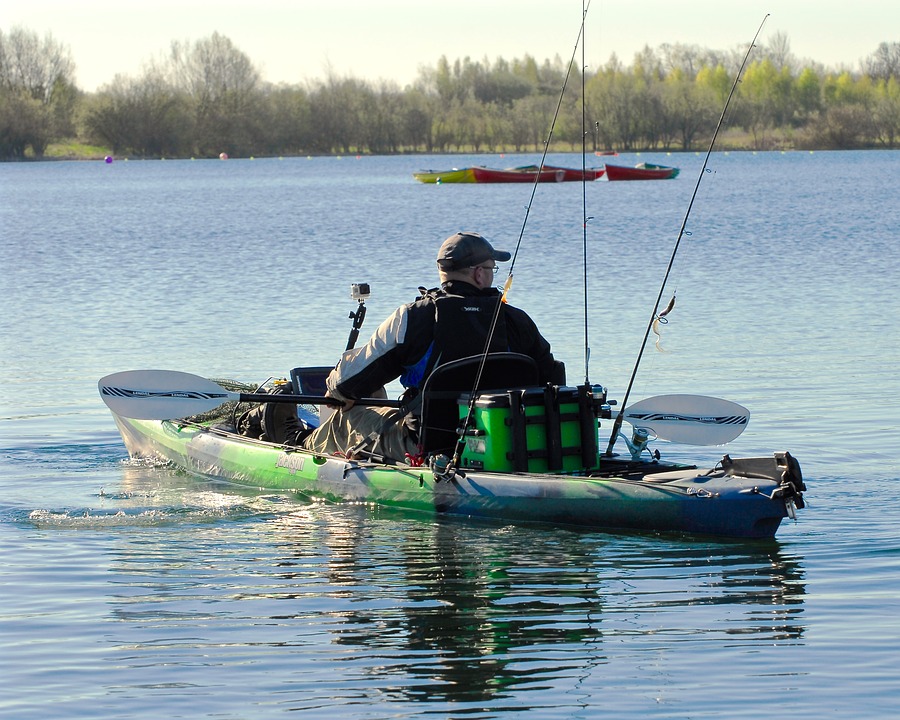
The crate is the hub of the whole system, and it lives in the tankwell behind the seat. A plain milk crate costs a few dollars and does the job for a first season, while branded crates with rod tubes, dividers, and lids are the upgrade, not the starting point. Either way it holds your tackle boxes, carries your rods, and keeps the rear deck organized instead of scattered.
Rod holders go behind you, not in front: flush mounts for storage, and an adjustable track mount for the rod you are actually fishing or trolling, with one within reach of the cockpit being plenty. The practical ceiling is two or three rods on the boat: tournament rigs with more rods are a later tier, not a starting point, and every extra rod is one more thing to hook on a cast or fight while landing a fish.
Set the layout by function, not by looks: rods grouped on the side you do not cast across tangle less than a neat symmetrical row that photographs well and fishes badly, and any holder that interferes with your paddle stroke or back cast is in the wrong place no matter how clean it looks.
Step 4: Paddle storage and tethers
Once the crate is set, solve the paddle problem. When you are fishing, the paddle has to live somewhere that is not your lap and not the water, so a leashed clip holder on your non-dominant side is the standard answer: grabbable one-handed while a fish is still on, and it stays put when you set it down to cast. One dissent: some experienced anglers just lay the paddle across their lap and call holders a waste of time, but that works until the paddle slides off in chop, which is why the leash matters either way.
Tether everything else you would hate to lose: pliers, snips, and your phone all go on lanyards or in a closable pocket, since more than one angler learned this by watching pliers sink. Our Best Fishing Pliers for Bass Anglers (2026) covers what to carry, and the point here is simpler: if it is not tethered or pocketed, you risk dropping it in the water and losing it.
Step 5: Position control with a trolley and a stakeout pole
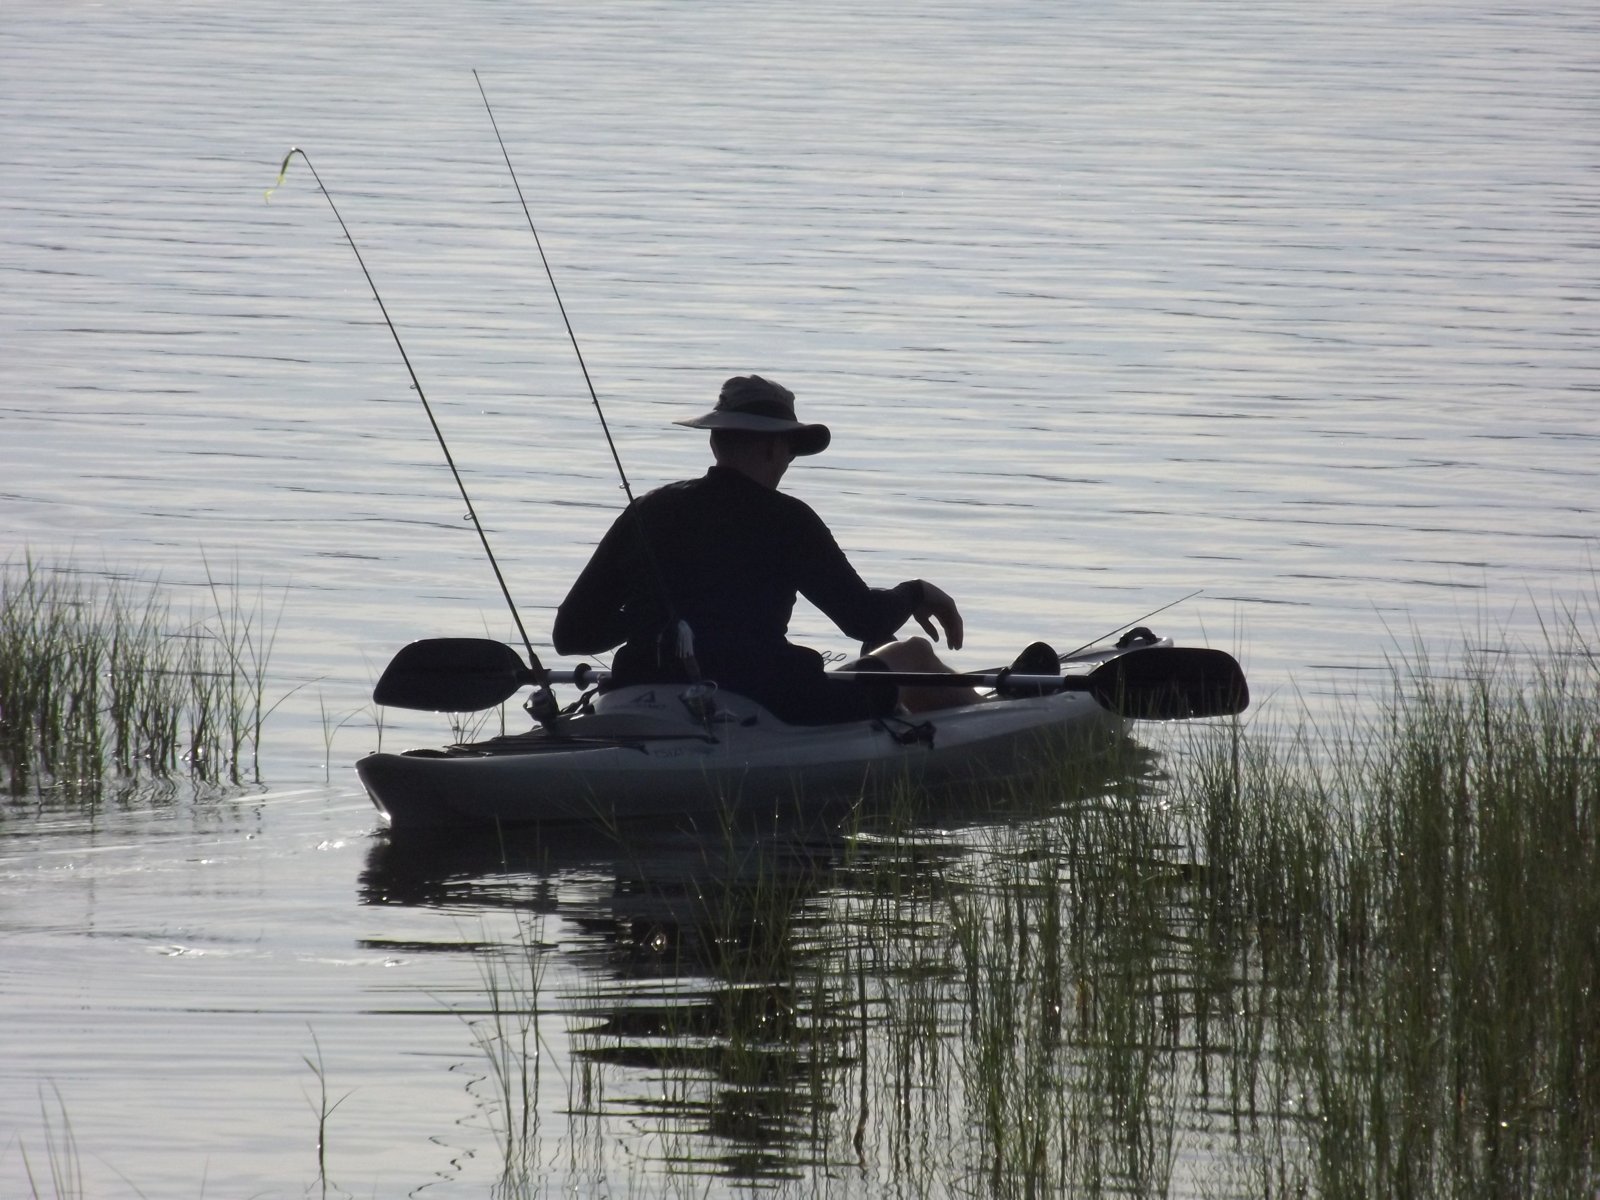
Wind is the first thing a new kayak angler notices, and the reason position control is worth rigging. An anchor trolley is a loop of line along one side of the hull that lets you slide the anchor point to the bow or the stern from the seat. One trolley on one side is enough, opposite the side you land fish on, so the line never crosses your landing zone.
The safety rule here is absolute: anchor off the bow or the stern, never the side, since an anchor tied to the side in swell will pull the boat over, and one forum thread starts with exactly that near-miss. Use roughly three times the water depth in rope, so the pull angle stays shallow and the anchor holds instead of dragging.
For shallow water, a stakeout pole beats an anchor outright. Pushed into the bottom, this fiberglass pole holds the boat in a few feet of water with no rope to manage, and it floats if you drop it. Plenty of anglers fish whole seasons on wind and a stakeout pole and never rig an anchor at all, and if you do anchor in current, rig it to break away.
Step 6: Electronics last, and only as big as your waters justify
The fish finder goes on after you know the boat, low and centered in front of the cockpit on a paddle kayak, or on a side track within arm's reach on a pedal kayak, since raised high it blocks your cast and your landing, and low enough that a fish coming over the side never meets the screen. The battery goes low and dry inside the hull, in a dry box reached through a hatch, not loose in the tankwell.
Transducer mounting has three workable options: a scupper mount using the hull's own holes, an over-side arm that clamps to a track and adjusts easily, or an in-hull shoot-through mount glued to a flat spot inside the hull, parallel to the water, with zero air bubbles in the adhesive, since bubbles reduce or kill the sonar signal. Whatever you pick, tape out the display position while seated before drilling anything, and confirm it clears your paddle stroke and knees.
Both sides of the finder debate have a point: minimalists say it comes last, or never on home water you already know, while the upgrade-path crowd says buy big once, since the cautionary tale in the forums is the angler who bought three finders in sequence, each one fixing the last one's limits. The tiebreaker is your water: big unfamiliar lakes or night running make GPS that gets you back to the launch earn its place sooner, while the same three ponds can wait.
Step 7: The trim check before you call it done
Rigging is not finished until the loaded boat is paddled: weight balance is a rigging step, not an afterthought. Batteries and heavy gear all aft, plus a rearward seat, will lift the bow and make the boat wander, while moving heavy gear like the battery or crate to counterbalance your seat position, and finding the seat position where the boat sits level, fixes most of it. A slightly stern-heavy trim suits rivers, and the same logic kills the front-crate idea: weight high on the bow makes the boat tippy, catches wind like a sail, and puts hooks where your cast goes.
Load the boat as you will fish it, paddle a lap of the launch area, and move anything that annoys you before it becomes permanent. That lap is the cheapest rigging tool you own.
What to skip
A few mistakes repeat so often they deserve their own list. Do not mount storage on the bow, pay someone to rig a boat you have not paddled, or drill everything in one weekend. Do not buy a cheap paddle to save money: hand and shoulder cramps on a long day cost more than the upgrade, and Gene Jensen puts the floor for a fishing paddle at around $100. And do not overload a small hull: one forum poster's full kit list is so congested he only carries six or seven items at a time, which means the rest was never needed.
If you already own a boat, our Best Fishing Kayaks for Bass Under $1,000 (2026) covers the hulls this order was built around, and for the tackle side of the crate, our Best Tackle Storage: Boxes, Bags, and Systems Compared covers what actually fits in one.
Bottom line
A kayak tells you where its gear belongs, but only if you paddle it before you drill it. Safety first, bare-boat trips second, crate and rods behind the seat, paddle and tools tethered, position control next, electronics last, and a trim check with the boat loaded like you fish it. That order is slower than bolting everything on in the driveway, and it ends with a boat that fishes the way you actually fish.